Wednesday, November 17, 2010

Announcing Letters New Doctor In The Area

FUNAMBULE / BHV Rivoli

The showcase lively rue de Rivoli / Peggy Van Reeth / Photo Fanny Giniès.

Photo Fanny Giniès.

"The BHV gives carte blanche to Olivia Ruiz
to expose young artists she loves.
The stage play will satisfy both children
the largest in that there are some grains of folly"
Come explore the night the lighted windows of BHV
proposed by the sponsor of the CIRCUS CHRISTMAS ...
until December 24, 2010:)


"What happens to our dreams and nightmares
when they are the trunk on the sly?
Will they haunt other minds? Yes.
Those recyclers dreams tightrope.
These poetic craftsmen Eco-feed on our emotions
and turn them into true works
featuring the Circus depths of our minds.

your wildest dreams, your most secret fantasies,
your most radical commitments, your richer memories
reappear over the meetings you will do in the observatory.
Be guided by the man with three heads, monkey scientist,
the alluring ladies of cloth, Mr. and Mrs. Cat
the good little devil, the Queen of bowls The parable talkative
the cabinet of curiosities the floor to ceiling ...
they will lead this excursion into the regions of Christmas
circus, childhood, in perfect acrobats. "

Olivia Ruiz


For FUNAMBULE DREAMS, I make 10 prints
(digigraphies 30 x 45 cm) of my image WENDY DARLING ,
from the book Peter Pan (JM Barrie).
Of postcards and various silver badges are also available
dans l'exposition de l'Observatoire .


Avec les oeuvres et goodies de :
Benjamin Lacombe, Barbara d’Antuono, Christophe Goussault,
Dora Protoulis, Elsa Valentin, Fabesko, Gonzague Octaville, Isabelle Lameloise,
Jean Prouzet et Line, Julien Lesur, Lilidoll, Mathias Malzieu,
Miss Plush plush, Mllz Fannib et Peggy V.
An exhibition organized by Olivia Ruiz and gallery Art de Rien
until December 24, the 5th floor of BHV Rivoli Paris!


Lameloise Isabelle / Photo Fanny Giniès.

Julien Lesur / Photo Fanny Giniès.


Photo Fanny Giniès ... a big thank you to the story;)!
Thanks also to Isabelle ART NOTHING of this beautiful scenery (* v *)

Monday, November 15, 2010

Writing Invetation Cart

Tutorial with punches from Martha Stewart

Hello to you all!

Firstly thank you for your many messages about my sketches I'm glad to know they like you and inspire you!

As you know I love to use my punches, either to make borders on my pages, my cards or make circles. I had several requests for tutorial on using these punches then today is that it is rule! MDR! You will become pros punch! I warned you right away it will take a few minutes to read EVERYTHING I've written between photos. My tutorial is very detailed to see all the steps, tricks, glitches that can happen and you have no more excuses for letting kids into your drawers.

here I show you my Martha Stewart punch. The punch corner and edge. These are called corner and border punches "Loop"


In the packing box is a small sheet super important that we should not throw ... Otherwise you will have serious problems ... It is too late you've discarded? I'll take pleasure in making you a little zoom on the action, take note of them.


You have here all possible measures to form a square or rectangle. You absolutely must limit yourself to these measures if you want it fonctionne.Par example to make a square you get 2x the same size. In the model I'll show you I'm a square 5pox 5in (12.7 cmx12, 7cm) and a rectangle of 3.25 x 5 (8.25 cmx12, 7cm)


So we start with the square


You take the punch corner and turn upside down and place it as the Photo


You make up the 4 corners like this


Then we change it takes one punch to the edge. I show you the pencil exactly where you should place your paper


You put your left corner on the drawing and you punch


is the result


Then you put the right corner on the drawing


Now your side completed


You repeat the same exercise for each of the sides and you'll get this eventually


Now the circle


You only use the corner punch to make the circles. We must return to see well


For the second hole will require tests on waste paper as PUNCH IS NO SUCH For this I'm invading my left a little to look at the picture


It magnifying glasses and sees a small triangle between the two if I push myself a little on my right triangle will be bigger which is why I'm invading a little to my left


If I push too much to my I will cut my left lens you see? All about precision


At the end I am very lucky because the space is perfect and the result also


A perfect circle is very rare that it happens. Camouffler Often we will have the final by a flower or slide it under a paper


For the second example I use My second kit of punches they called "Layered ark"


I show you now with a rectangle


Same method 4 corners are done with the punch corner


We guide the design


Here I show you a small imperfection that may occur. Between the two holes there was a small space we have only a few mm cut with scissors or exacto nothing appear


The end result


Now we go to the circle


I wanted to show you a picture because with this punch must not encroach on the left or we'll cut the previous song should just be near

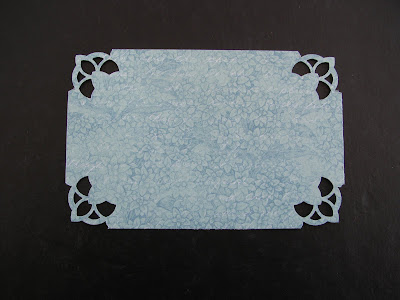
Here is another flaw that correct, at the end


Here we are at the end of the circle and we have a little problem ... not enough space if I do it anyway I'll cut each side so I'll just round up and leave like that I camoufflerai by flowers


Here is an example of the great mystery of punches The two circles were the same size initially and is perfect while the other does not ... It's all about angles, mm at the end changes the result.


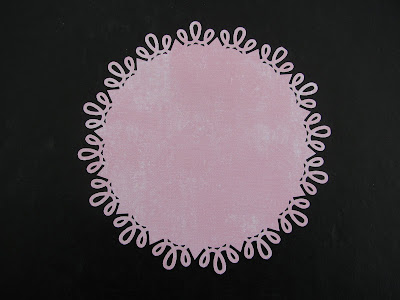
Here the models I have just made. The right orange is placed on a map 5,5 x5, 5 "


Now you know everything! No matter what size the principle remains the same. I hope you enjoyed my tutorial is the time to get your punches or go shopping! Have fun!
you soon!